
Google Search Engine.
For this next section, follow this link.
https://search.google.com/search-console
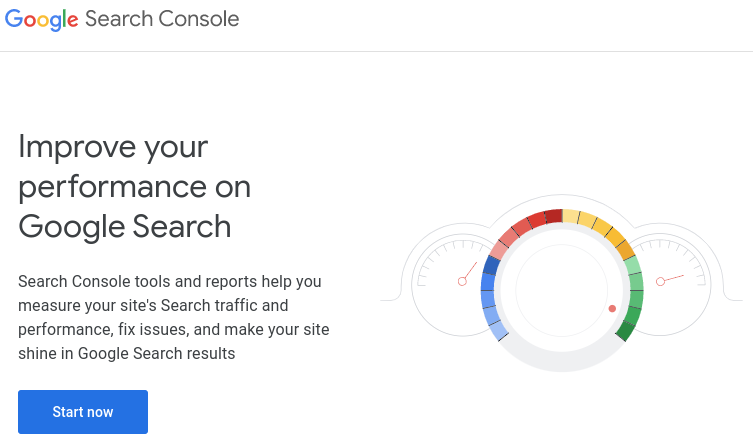
You will need to have a Gmail address to work with this console.
Click on Start now.
If you are not already signed in to Gmail you will be asked to sign in.
Do so.
The next screen shows the search console.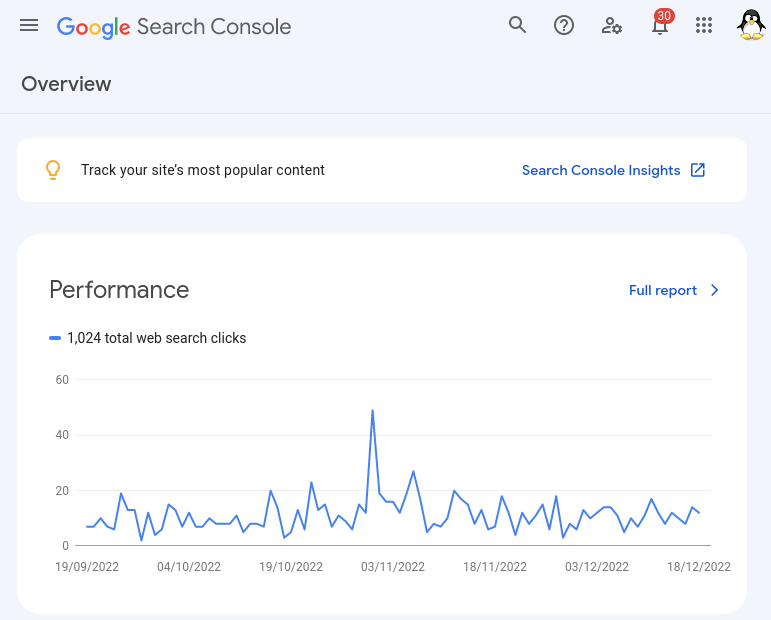
In my case, I already have a site installed, and you can see some of the results from Google Searches.
Installing a new site.
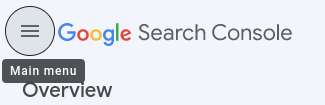
Click on the hamburger, the three horizontal lines, and you open the menu items for the current site.
Click on the down arrow in the first box.
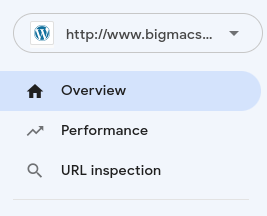
Go to the bottom of this drop-down menu.
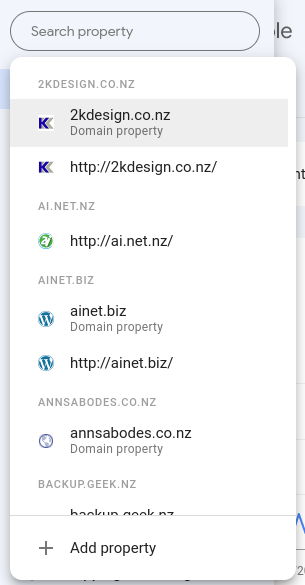
Click on Add property.
You now have the option to enter your domain name.
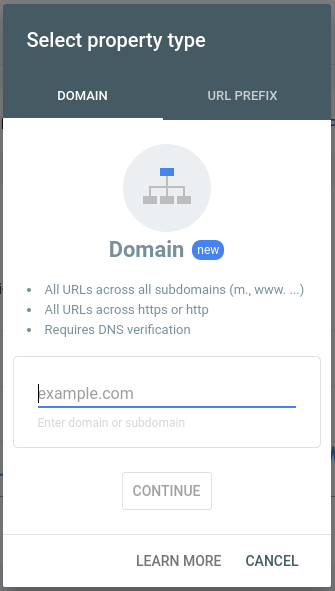
Put your domain name into the box and click continue.
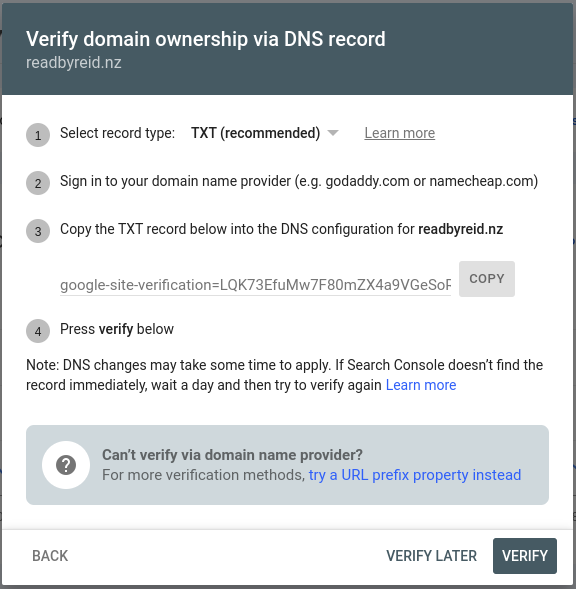
This next part can be involved, and you may not have access to enter this information. We are available to help you.
However, follow the instructions to add a txt record to your domain name if you can.
Once you have the txt record set up, click on VERIFY.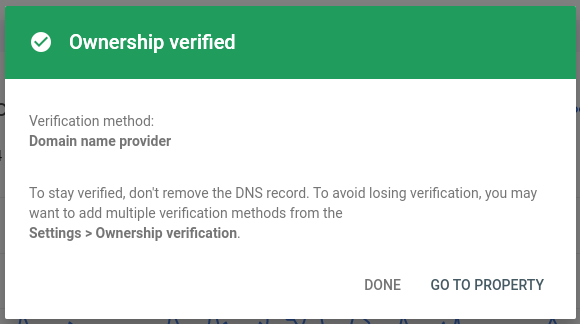
You can click on GO TO PROPERTY, but there is not much to see.
Sitemap.
We want to help Google to know about your website. We will create a site map that google can easily access and map your website for searching.
Go to Dashboard -> Yoast SEO -> Features
Scroll down to XML Sitemaps.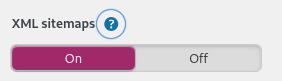
Click on the blue “?”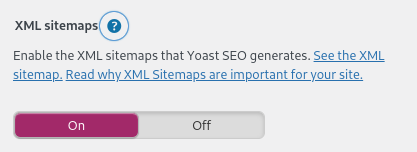
We now want to click on the ‘See the XML sitemap’ link.
This will open up a new tab showing your site map, it may only be a few pages or many.
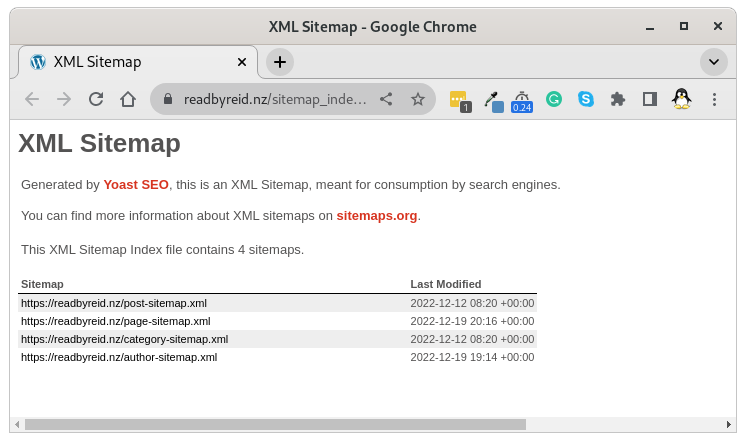
You want to copy the URL for this page.
In my case, it was https://readbyreid.nz/sitemap_index.xml
We now need to go back to the Google Search Console.
Click on the top hamburger again, and click on Sitemaps.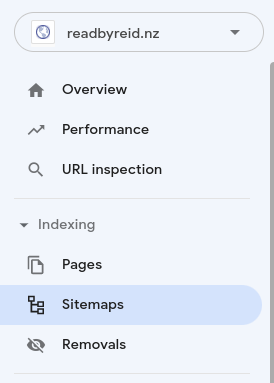
In the next window, you want to put in the sitemap XML URL for your site.
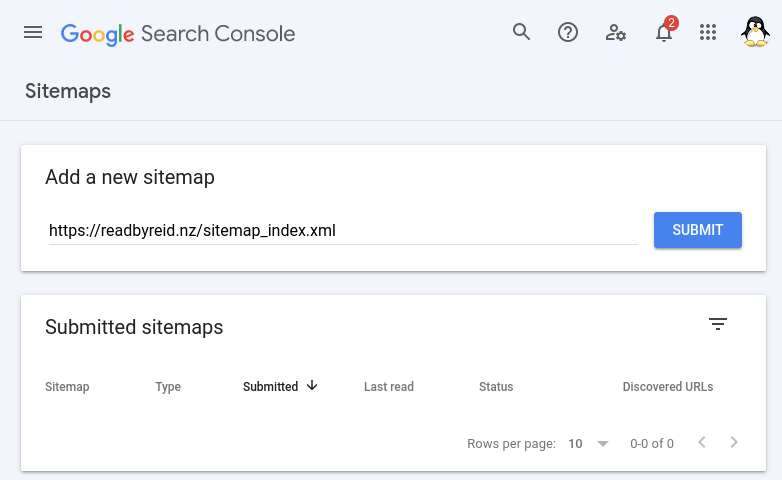
And click on SUBMIT.
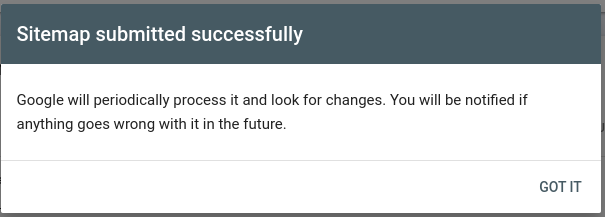
You can now see that Google is starting to process your sitemap.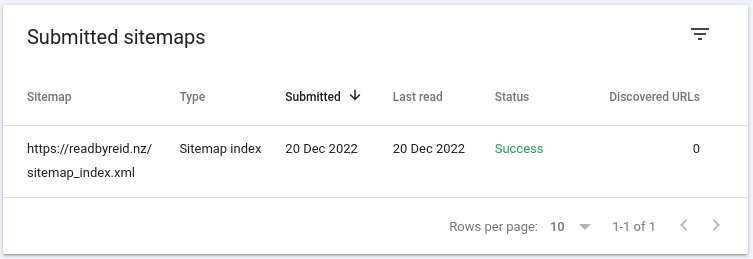
What now?
You need to create pages and posts for the search engine to index.