
This lesson is under development.
Remember in the last lesson we changed where your WordPress Admin page is.
Go to the correct url for your admin login.
Go ahead and enter your username or email address.
Then the password.
And login.
If you ever forget your password you can get a new one by clicking on “Lost your password?”
Images on Pages
Open up from the Dashboard, the Pages option.
In my case, I am going to be wanting to edit “Learning WordPress”. You can just click on the name of the page you want to edit.
Here is my page.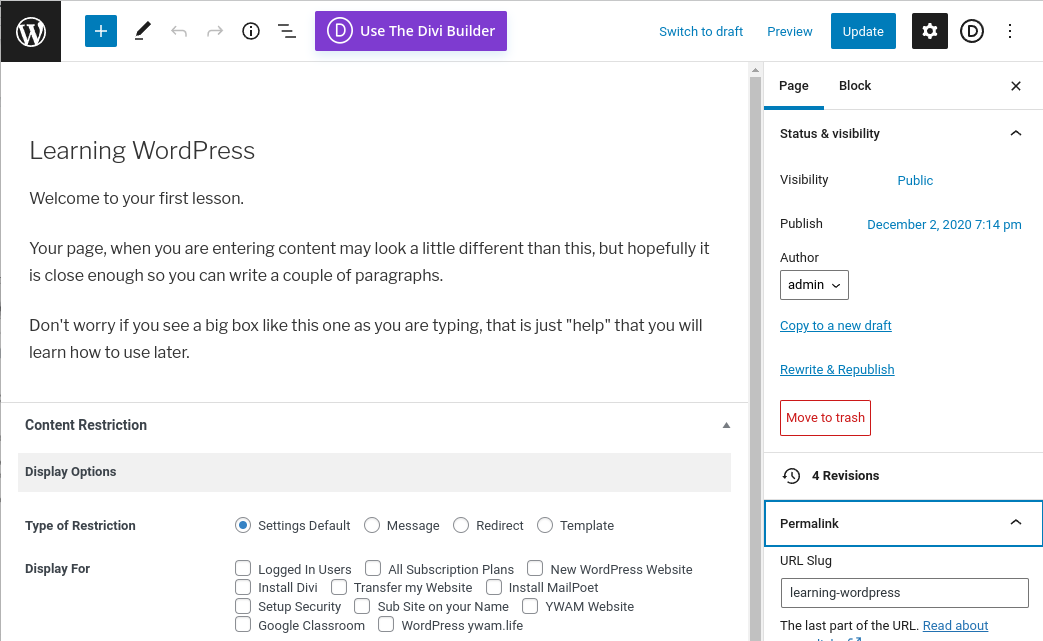
I have three paragraphs, but no images.
There are a few ways we can insert images.
Gutenberg blocks
Click on the Blue or Black Plus up in the top left corner. Next to the W.
Or yours may be a black circle with a plus in the middle.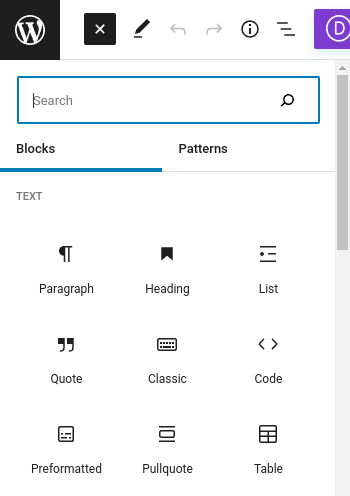
You see a whole list of Gutenberg blocks.
See the item “Search for a block” or maybe just “Search”?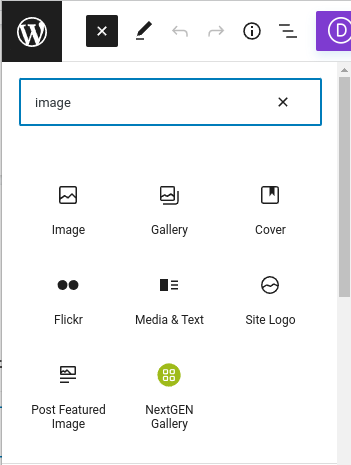
Type “image” into the search box.
Gutenberg image blocks
The image types available to us are:
- An image in its own paragraph.
- A Gallery.
- Media & Text.
- Embedded Instagram.
- Embedded Flickr.
We are going to choose Media & Text.
Media & Text
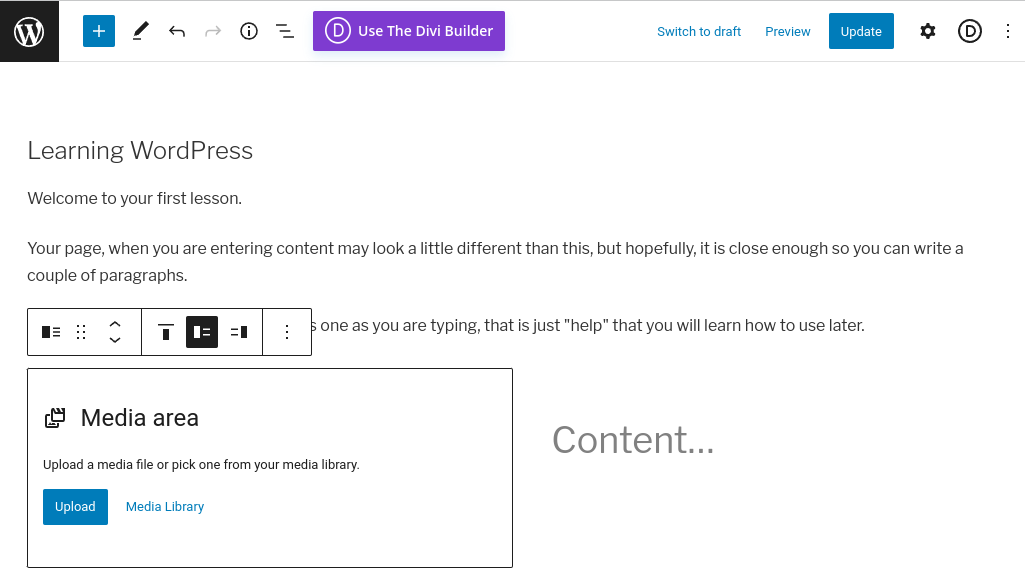
There are two parts to this Gutenberg block.
- ½ for an image.
- ½ for text.
Go ahead and update this page.
Gimp
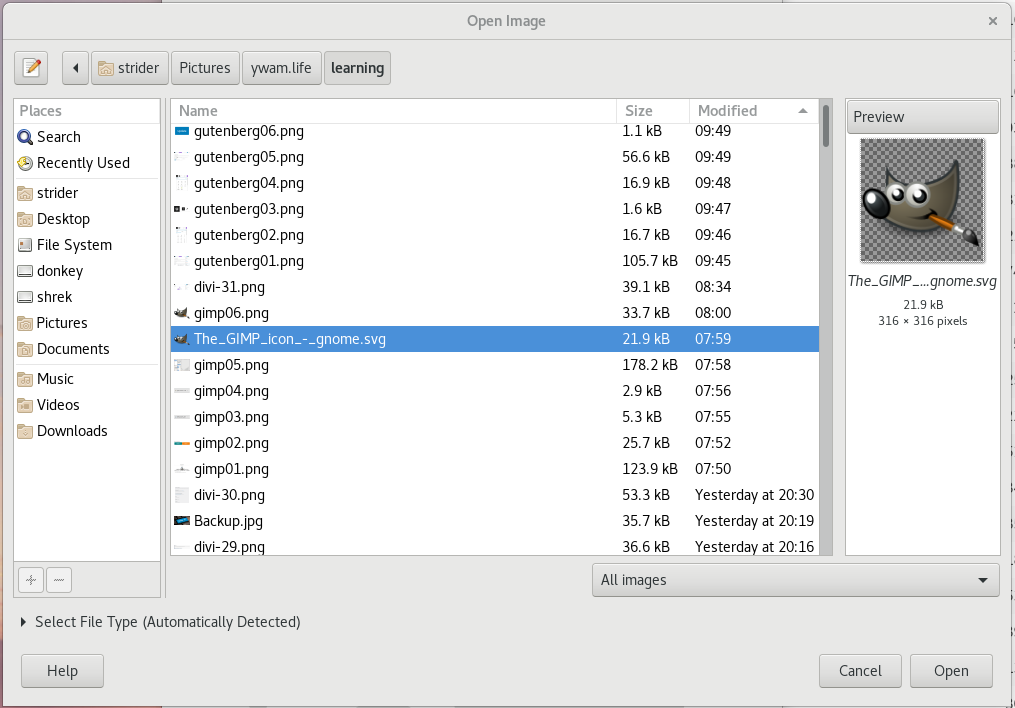
Now we want to go back to GIMP and start preparing a picture to be uploaded.
- Start GIMP.
- Click on File.

- Click on Open.
- Yours may differ, but go to where your pictures are, and open one.
- This is my Picture, but I only want the Logo.
- You can find this here:
https://www.ywamshipsaotearoa.org.nz/wp-content/uploads/2018/12/YWAM-Ships-Aotearoa-Logo-Color-12.06.2018.png
Cropping
I am going to use the Knife Tool, or on your gimp, you might need to find it under a different icon called Crop.
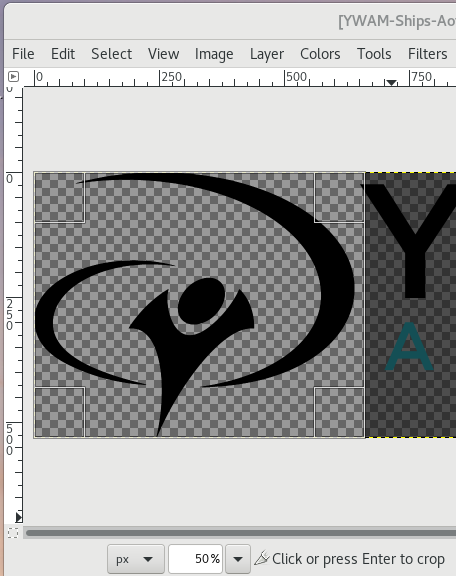
See how I have outlined just the logo?
Now double click inside the Crop area to remove everything else.
Oh No. Made a mistake? Press ctrl-z on your keyboard to undo what you just did.
Or you can also press enter, and your image is cropped.
However, the picture is 645px by 532px.
Scaling
We want to reduce the size down to a better size for our website, 200px wide.
In the menus
Click on Image.
Click on Scale Image.
Put 200 into the width setting.
The link between the Width and Heigh has a locked chain, so the scale will be proportional.
Click on the scale button.
We now have a scaled image.
Export Image
Click on File.
Click on Export As…
A browse window opens up so you can find a place to export the image to.
Choose a place to save the image.
Choose a name for this logo, it must end in .png, because we are using a transparent image.
Click on Export, and remember where you have saved this picture.
Import Image to your Page
Go back to the page we were editing.
Click on the Upload button.
Find the image we exported in the previous step.
Click on Open, and the image will fill the Media area.
The image is a little blurred, so you can drag the little blue circle in the middle to change the size.
Change Image Size
Now in Content, type the paragraph that you want to go with the image.
Change Text Size
If the text is too large, click on the Paragraph maker.
Choose the Heading item from the list. This is step one.
Still not quite what we want, click on the Heading marker.
Now click on the Paragraph marker again
Much Better.
There are lots of tricks and tips to learn as you become a webmaster.
Got questions? Ask them in the Stream or Classwork so I can answer them and everyone can learn.
I am not the only teacher here, you all are teachers, just as I am also a student.
The Rest of your Pages
The last time you created a number of pages, now you can go back to them and add pictures.
Dealing with jpg
The first time we were working with .png which can have a transparent background.
One of the biggest issues with pictures is that they are often too big or too small, take too long to load, or are too pixelated.
When you upload a picture you do not want to have a large picture in a small placeholder, so you want to make each picture the size of the box it is going into.
- Open a jpg
- Just like you did at the beginning:
- In GIMP
- Click on File
- Click on Open
- Choose a jpg from somewhere on your computer.
- Here is mine:
It is huge, 10MB, 6000px by 4000px. Far too large for a website.
Scale
Now we want to scale this picture.
Click on Image
Click on Scale Image
We have changed the 6000 to 600.
Click Scale.
You now have a small picture.
Export
Click File
Click Export As
Go to the location you want to save the picture.
Click Export
You will see the Export Images as JEPG
Change the Quality to 80.
Click Export again.
This picture is 600px by 400px and only 88 KB, not 10 MB.
If you wanted a large version you could have scaled it to 1200 px, and that size would have been 217 KB, still nice and small.